In my previous post, I wrote about how to send dynamic automated emails using APEX while controlling the messaging from a client-side form. Those messages were plain text, though, and with the foundation we now have, we can easily incorporate basic HTML elements to send a better looking, more accessible message using our existing form.
Before you begin: To successfully implement the following tutorial, you’ll first need to setup an Oracle APEX email server. The following articles from Oracle will show you how to do so:
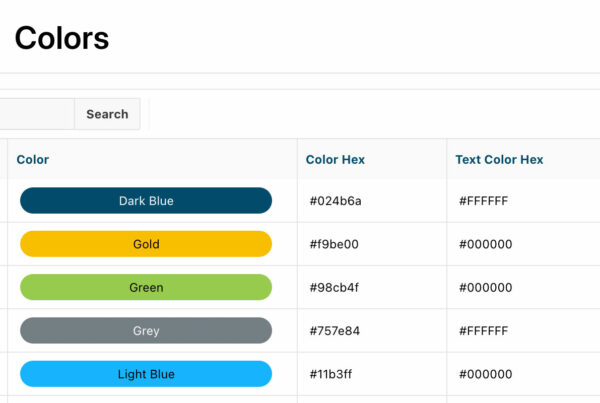
In this example, we’ll be using the same two-table Employee/Department application we built in the previous lesson(s) to send new employees a department-specific welcome message.
Our first step will be to add a new column to our Department table to hold our HTML-formatted message. Navigate to SQL Workshop > Object Browser, then find the Department table we built in part 1 of the series. In this case it is called TRAUST_DEPT.
Click the ‘Add Column’ button. On the next page, name the column HTML_MSG, set the Type to ‘VARCHAR2’, and the length to 4000 characters. Then click the ‘Next’ button, confirm the column details, and click ‘Create’. The table should now have four columns; ID, NAME, PT_MSG, and HTML_MSG.
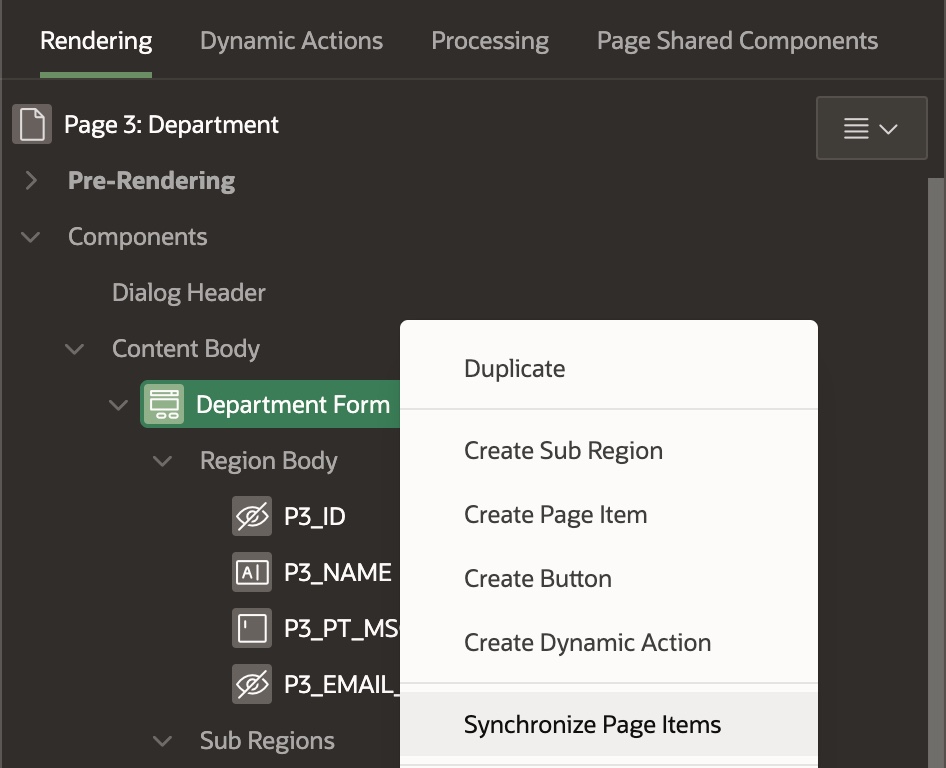
 The next step will be adjusting our form to accommodate this change to our table. From App Builder, find your test email application, open it, and navigate to the Department form page.
In the left pane, right click on the form region and select ‘Synchronize Page Items from the drop-down. This will add a new text area called HTML_MSG. Select the new page item by clicking on it, and move to the right pane. In the Identification subsection update the label to ‘Rich Text Message’ in the right pane, and update the type to ‘Rich Text Editor’, then under the Settings subsection, change the Format from ‘Markdown’ to ‘HTML’. Save the page, and run the application.
 When you open the Department form from the report, you should be able to copy your plain text message into the new rich text editor page item and apply any styling you want.
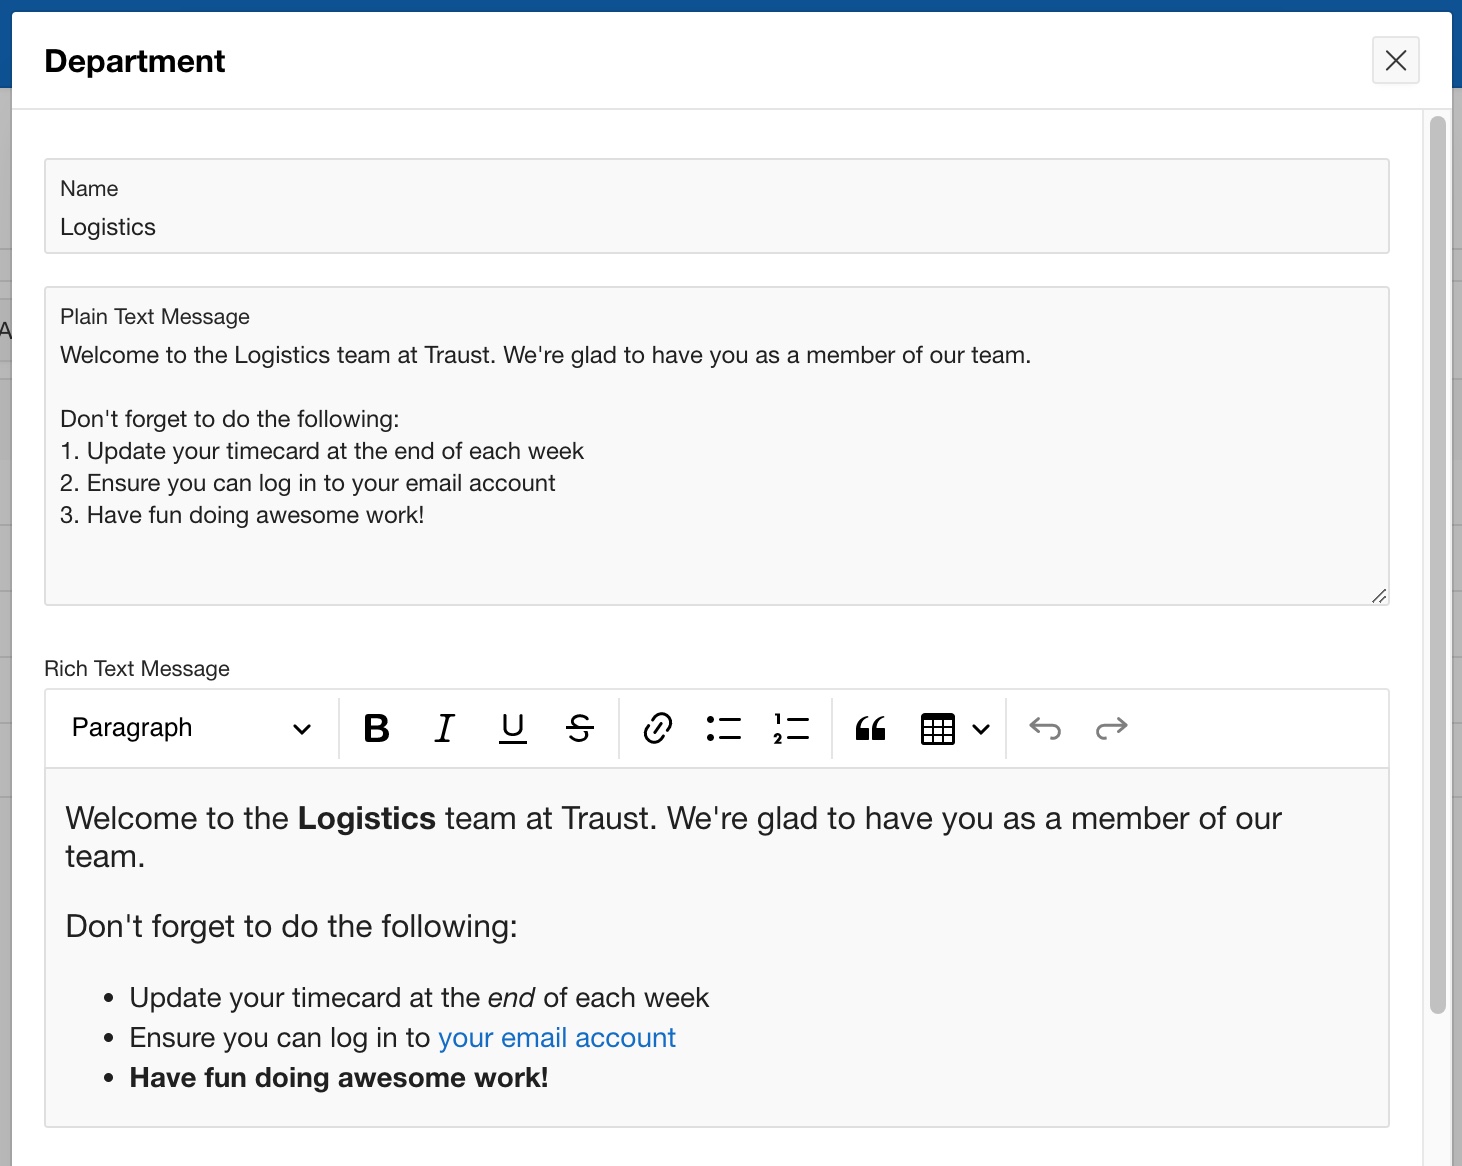 When you save the changes, navigate to SQL Workshop > SQL Commands, and query the table to see the resulting HTML message.
 Head back to the application’s Shared Components, and under ‘Workflows and Automations’ select ‘Automations’. You should see the ‘Send Welcome Message’ automation we created in the previous post. Open that automation by clicking on it, and scroll down to the code editor in the Source subsection. Add the new column we created to the existing query so that it reads:
traust_emp.id,
traust_emp.name employee,
traust_emp.email,
traust_dept.name department,
traust_dept.pt_msg,
traust_dept.html_msg
from
traust_emp,
traust_dept
where traust_emp.traust_dept_id = traust_dept.id
and traust_emp.msg_sent is null
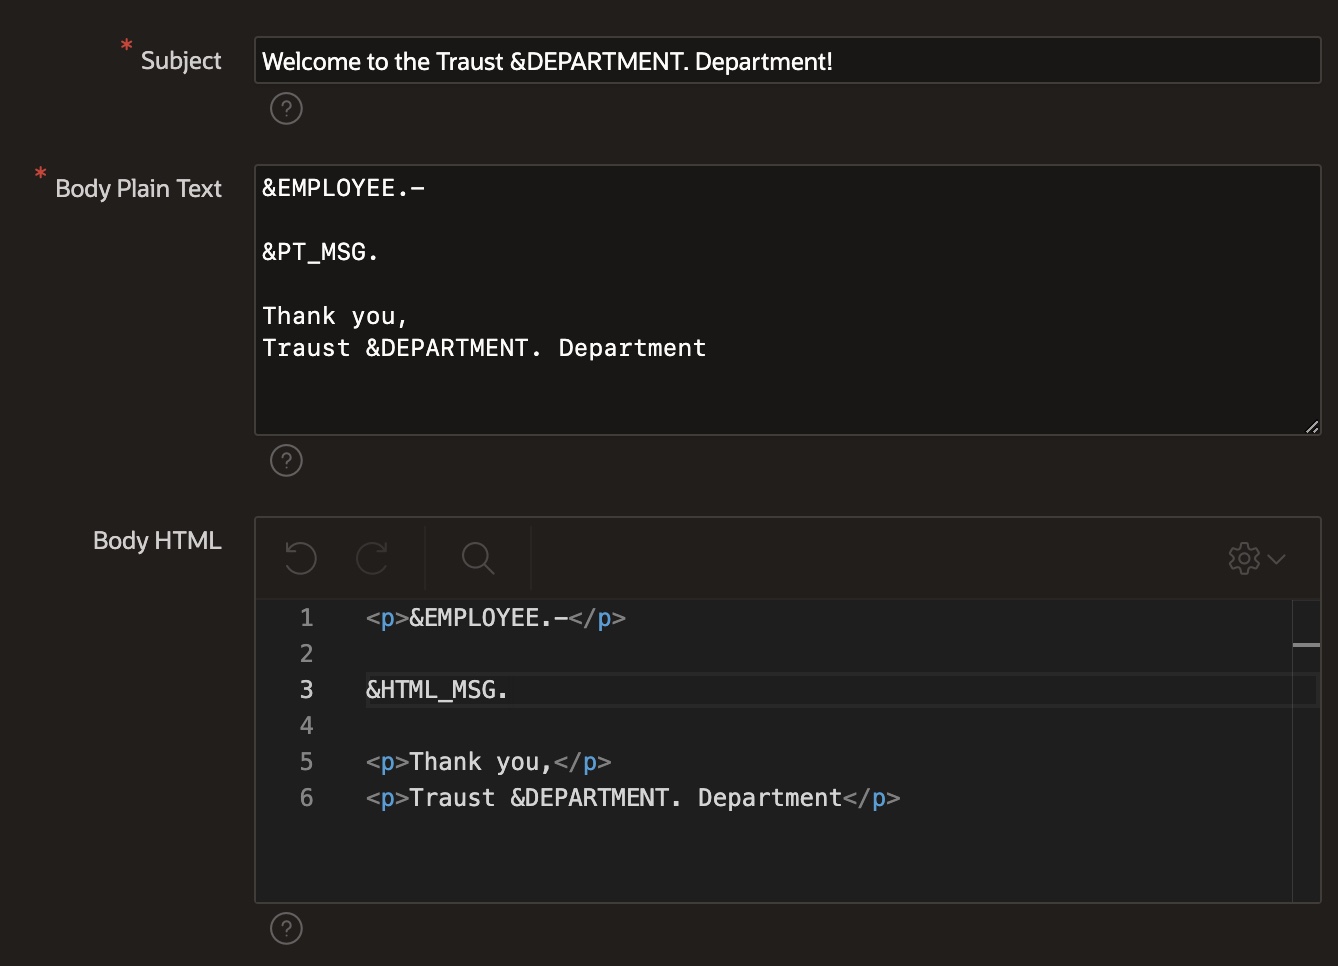
Now, scroll down to the Actions subsection, and click the edit pencil on the action called ‘Send Email’. On the following page, scroll down to the ‘Send Email Settings’ subsection. Copy the code from the Body Plain Text into the Body HTML, then wrap the substitution strings in HTML tags, and replace the Plain Text message body substitution string with a new substitution string, ‘&HTML_MSG.’, that will refer to the new column in our table that is being returned by our SQL Select query.
 Click the ‘Apply Changes’ button in the top right of the page to return to the automation, then click the ‘Save Changes’ button on the top right of the following page to save your work. Now when the Automation runs, it will send a unique, personalized HTML email to each recipient.
As a bonus, here is some boilerplate code that you can use to get started styling your email. Simply copy this code into the Body HTML code editor and replace the text in the square brackets ( [ ] ) with your information.
class=”message” style=”font-family: Helvetica Neue, Arial, sans-serif; padding-top:30px; padding-bottom:30px; padding-right:40px; padding-left:40px;”>
<p>&EMPLOYEE.-</p>
</br>
<p>&HTML_MSG.</p>
</br>
<p>
Thank you,<br>
[NAME OF SENDER]
</p>
<br>
<div class=”footer” style=”font-size: x-small;”>
© [YOUR BUSINESS NAME]. All rights reserved.<br />
[YOUR BUSINESS ADDRESS] | [YOUR-PHONE-NUMBER] | <a href=”[mailto:YOUR EMAIL ADDRESS]”>[REPLY TO EMAIL ADDRESS]</a>
</div>
</div>
Stuck on a challenging APEX project? Traust provides expert Oracle APEX application development — and training for your team! Contact us today for more information.