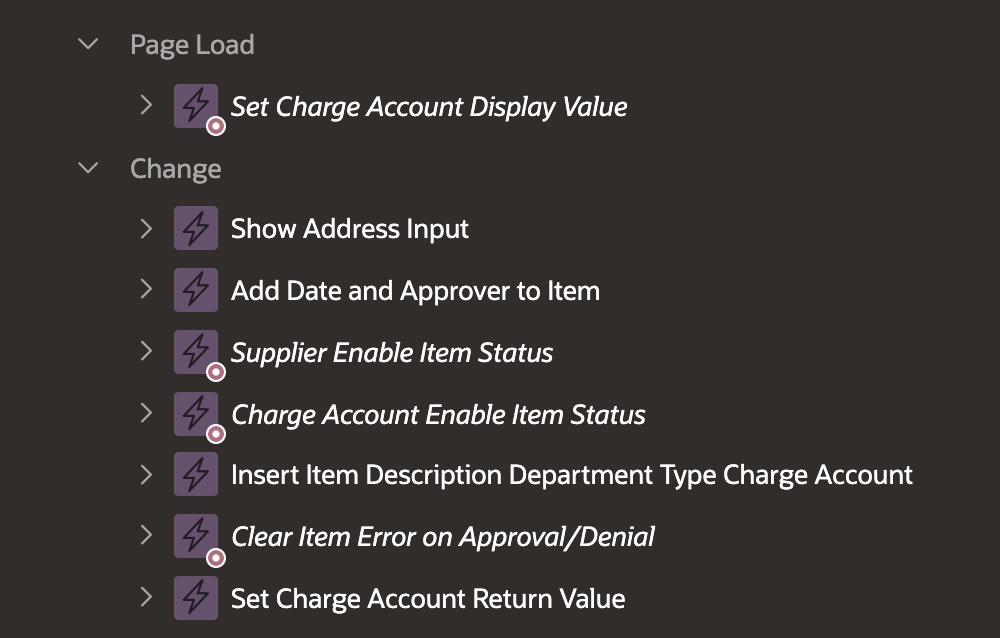
Normally, we would send the return value of the selection and use it to populate the Popup LOV, but if it doesn’t interpret it into a corresponding display value, the User won’t be able to view it in a meaningful way. Alternatively, if we send the display value, the User will see it just fine, but the Popup LOV won’t interpret it into a return_value that we can use in our database.
[su_spacer size=”30″]
The Fix
Duplicate the Popup LOV Page Item.
Change the original Popup LOV page item type to ‘hidden’.
Change the name of the duplicate page item.
Create a Change Dynamic Action on an Interactive Grid Column
Set Value True Statement
Sets the duplicate page item to a display value to show the user
The display value shows when the Interactive Grid column changes.
Add a Change Dynamic Action that fires when the duplicate page item changes
Set Value True Statement
Sets the value of the hidden page item to the return value you want sent to the database
Make a Page Load Dynamic Action
Set Value True Statement
Sets the value of the duplicate page item to the display value you want a User to see.
- Your user will get a value they can read and the correct information will get into your database
[su_spacer size=”30″]
Example
Let’s imagine a purchase order form in the form of a master-detail drill down page with the purchase order information at top, including a charge account. Below that is an interactive grid of items to be attached to that purchase order. When we select an item on the interactive grid, we want that action to populate the above charge account. If we have taken the above steps the sequence goes as follows:
The user needs some supplies but doesn’t know which account the item should be charged to.
They fill out the information they know on the top of the purchase order, then move lower and select their item from a select list in the interactive grid.
That select list is built on a query that returns two values; the item’s name (which functions as our client-side display value), and the item’s ID (which functions as the server-side ID).
The first dynamic action (step 4 above) submits the selected item’s return value and uses it in a query that returns the name of the charge account attached to that item and sets it as the value for our visible client-side charge account page item.
The second dynamic action (step 5 above) recognizes the change in the visible client-side charge account page item and submits it’s value into a query that returns the charge accounts associated ID and sets the value of our hidden page item for submission to the database.
The final dynamic action (step 6 above) performs a reverse operation to the previous step. Upon re-opening a purchase order, the hidden page item would contain an ID associated with the charge account, but the visible page item.

Learn More
- You can learn more helpful tips like the ones above by visiting the Traust Consulting Blog.


